
Achieving a salon-like manicure at home may seem challenging, but with the right tools, techniques, and patience, you can achieve stunning nails without stepping out. A well-done manicure not only enhances the beauty of your hands but also promotes nail health. In this step-by-step guide, we will walk you through the process of getting a professional-looking manicure in the comfort of your home.
Step 1: Gather Your Tools and Supplies
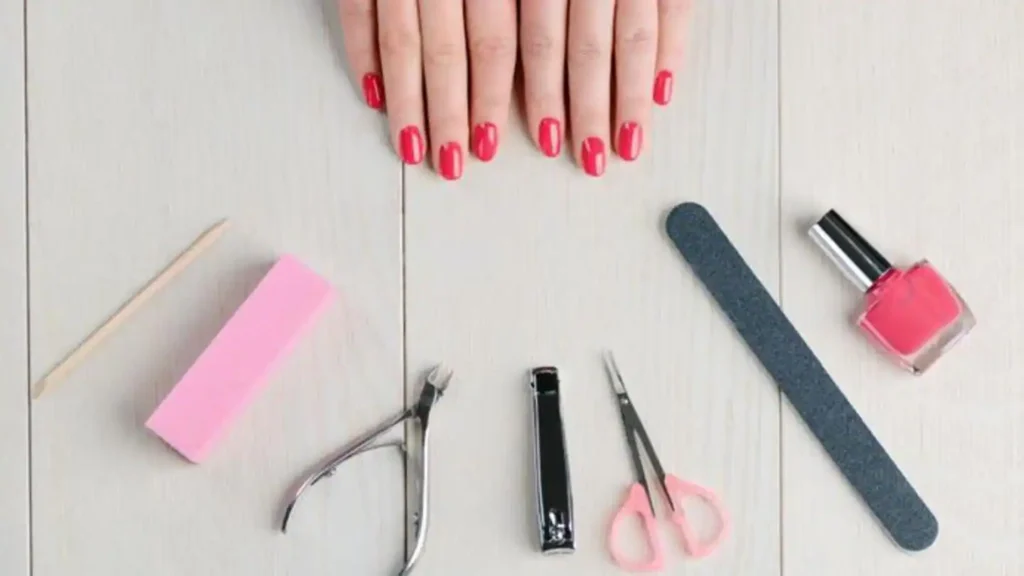
Before starting, ensure you have the necessary tools and products:
- Nail polish remover and cotton pads
- Nail clippers and file
- Cuticle pusher and cuticle remover
- Nail buffer
- Base coat and top coat
- Your favorite nail polish
- Hand moisturizer
- A small bowl of warm water
- Cuticle oil
Step 2: Remove Old Nail Polish
If you have old polish on your nails, use a non-acetone nail polish remover to gently clean the surface. Non-acetone removers are less drying and help maintain the health of your nails.
Step 3: Trim and Shape Your Nails
Use nail clippers to trim your nails to your desired length. Then, use a nail file to shape them. Popular nail shapes include square, oval, almond, and coffin. File in one direction to avoid splitting or damaging your nails.
Step 4: Soak Your Hands
Fill a small bowl with warm water and soak your hands for about five minutes. This softens the cuticles and makes them easier to push back. You can add a few drops of essential oil for a spa-like experience.
Step 5: Push Back and Trim Cuticles
After soaking, gently push back your cuticles using a cuticle pusher. If there are any excess cuticles, trim them with a cuticle nipper. Be careful not to cut too much, as this can lead to infections.
Step 6: Buff Your Nails
Use a nail buffer to smooth the surface of your nails and remove any ridges. Buffing also helps the polish adhere better and creates a smooth base for application.
Step 7: Apply Cuticle Oil and Moisturizer
Massage cuticle oil into your nails and surrounding skin. This nourishes the cuticles and keeps them healthy. Follow up with a hand moisturizer to keep your skin soft and hydrated.
Step 8: Apply a Base Coat
A base coat is essential for protecting your nails and ensuring a smooth polish application. It prevents staining and helps the color last longer. Apply a thin layer and allow it to dry completely.
Step 9: Apply Nail Polish
Choose your favorite nail polish shade and apply the first coat in thin, even strokes. Start from the center of the nail and then move to the sides. Allow the first coat to dry before applying a second coat for full opacity.
Step 10: Seal with a Top Coat
A top coat adds shine and helps prevent chipping. Apply a thin layer and let it dry completely. Some top coats also provide a gel-like finish for an extra glossy look.
Step 11: Clean Up Any Mistakes
Use a small brush or a cotton swab dipped in nail polish remover to clean up any excess polish around the nails. This step ensures a neat and professional finish.
Step 12: Allow Proper Drying Time
Let your nails dry completely before using your hands. To speed up drying, you can use a quick-dry top coat, nail drying spray, or dip your nails in cold water for a few minutes.
Step 13: Maintain Your Manicure
To extend the life of your manicure, apply a thin layer of top coat every two to three days. Keep your hands moisturized and avoid using your nails as tools.
Bonus Tips for a Salon-Like Finish
- Use Quality Products: Investing in high-quality nail polishes and tools makes a significant difference in the final look.
- Avoid Thick Layers: Thin, even coats dry faster and last longer than thick, uneven layers.
- Store Nail Polish Properly: Keep nail polish bottles in a cool, dry place to prevent thickening and separation.
- Experiment with Nail Art: If you want to elevate your manicure, try nail stickers, glitter, or simple designs for a unique touch.
With these easy steps and tips, you can achieve a flawless, salon-like manicure at home. Not only will this save you money, but it also allows you to get creative with your nail care routine. Happy manicuring